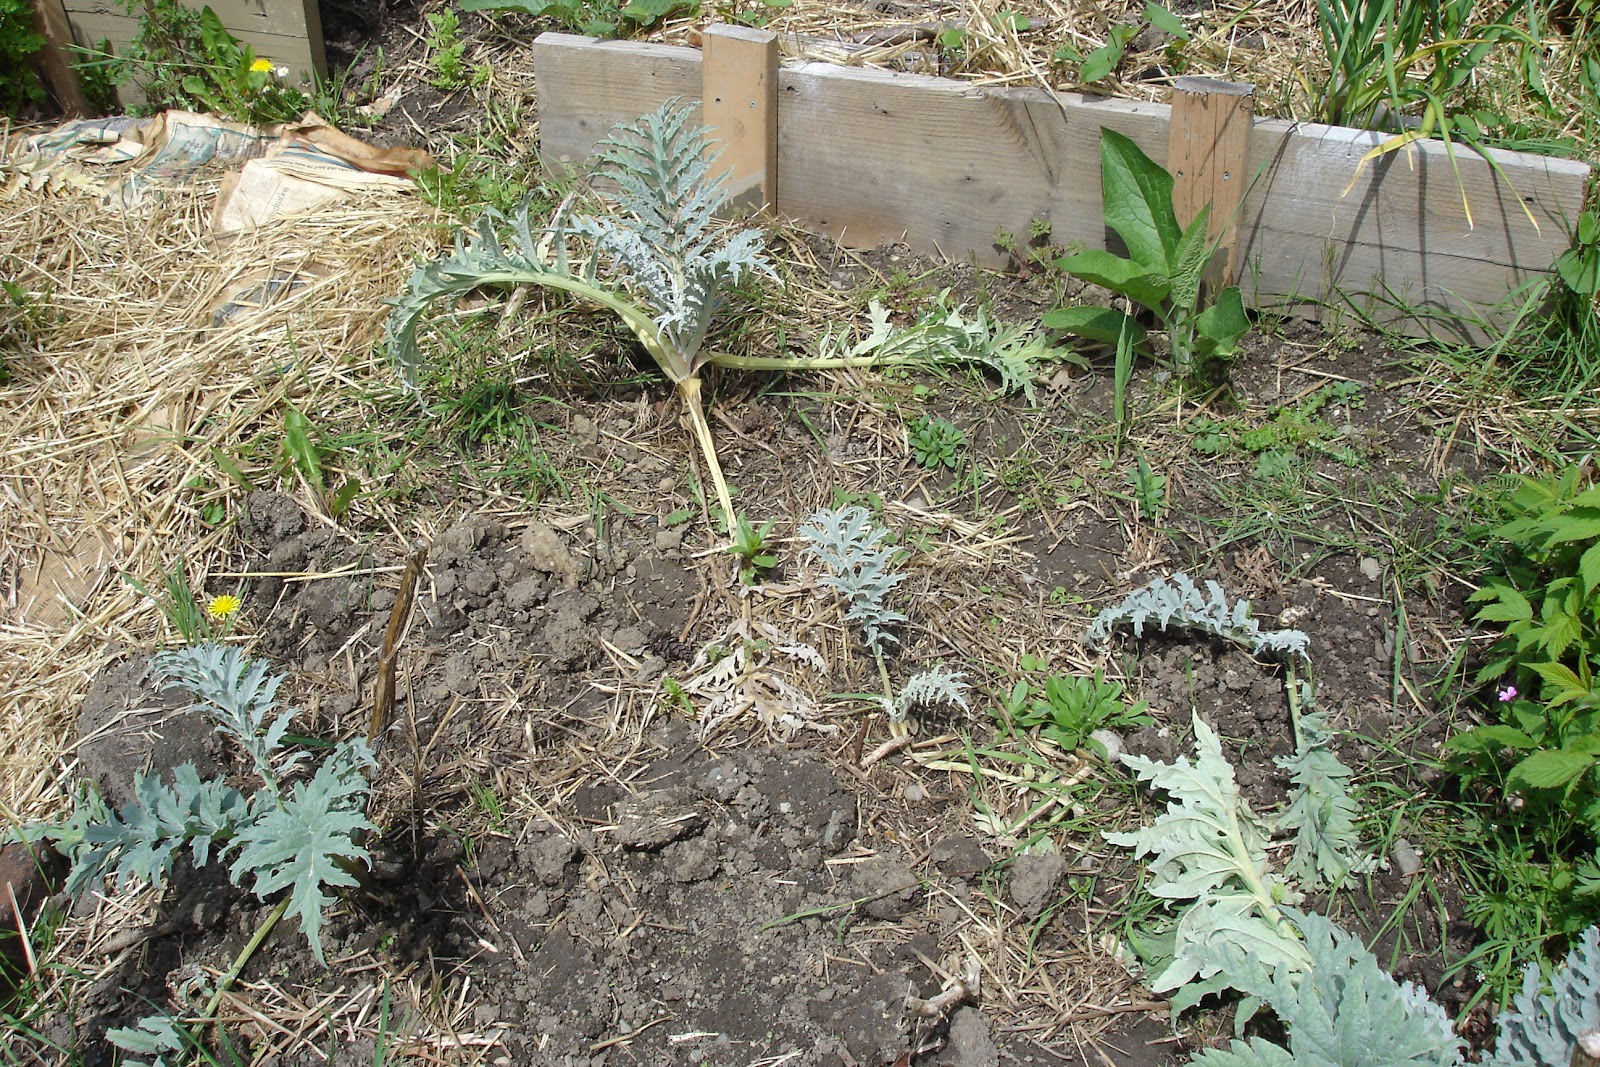
 Regard the little plants in this photograph. Ignore for a moment the rampant comfrey (which is useful as a plant fertilizing tea, a compost invigorator, and even as a poultice for torn ligaments and banged up elbows), the couch grass (for which I have no use whatsoever, gnash gnash), and the poor looking soil (ahem, no comment). Focus your eyes solely on those jagged little silvery slips. They are what's known in the garden world as Artichoke Offspring. They were prised off a bigger plant about 2 weeks ago.
 I'd read about Artichoke Division in gardening magazines but never tried it. It looked complicated and tangly. I've broken roots attempting this sort of thing with other plants and it can be traumatic. Mind you, if I'm being perfectly honest I should probably say that I never even NOTICED little baby plants on the artichokes before, but that's not to say that they weren't there. In fact, much to my chagrin, there were quite a few of them, sitting waiting patiently for me to notice them.
What you do is this: on a day when the soil is warm and dry, dig up the main plant ever so carefully, bringing up the entire clod of soil as much as possible. Lay it in a wheelbarrow or on a tarp. Gently knock off the soil around the base, and untangle the roots of the baby plants. You might, as I did, have to do some wrenching. Not fun, and you might even feel as though you're going to kill something; in fact, you might very well kill something, but don't let that dissuade you. Just focus on preserving as much root stock for each divided plant as possible, because you can trick the transplant with a little chemical help. Place the little plants aside (just don't leave them in the sun) and replant the main plant, adding a good handful of bone meal to the transplant hole. Scatter it over the roots, then water well before filling in the hole. Now, turn your Eagle Eye to the transplant divisions. When you plant them, make sure the soil they go into is better-than-garden-soil, add a good handful of bone meal and rock phosphate, even some kelp meal if you have it, then put the plants in a shady place for a week or so, until they recover from the indignity of the experience. If you can't do that, cover them with some shade fabric. That's what I did (it never occurred to me to give them a Proper Transplant Experience until I watched them wilt in the sun for several days in a row, so I'm giving you, once more, the benefit of my - uh - experience).
 Let me introduce you to the Happy Parent now.
That large artichoke plant to the left? That's Mummy. Or...maybe...Daddy. Or is that Mummy and Daddy?
Anyhow, it's been delivered of 6 healthy, happy offspring. Congratulations!
Sorry, silvery little slips. Sorry, Artichoke Offspring. Sorry, much beleaguered wallet.
1 comment:
I generally find that gardening magazines make things much more difficult than they have to be. I had been saving seeds for years and then read an article that had long and complicated instructions that were completely unnecessary.
Post a Comment